Introduction to Pull-Down Exercise
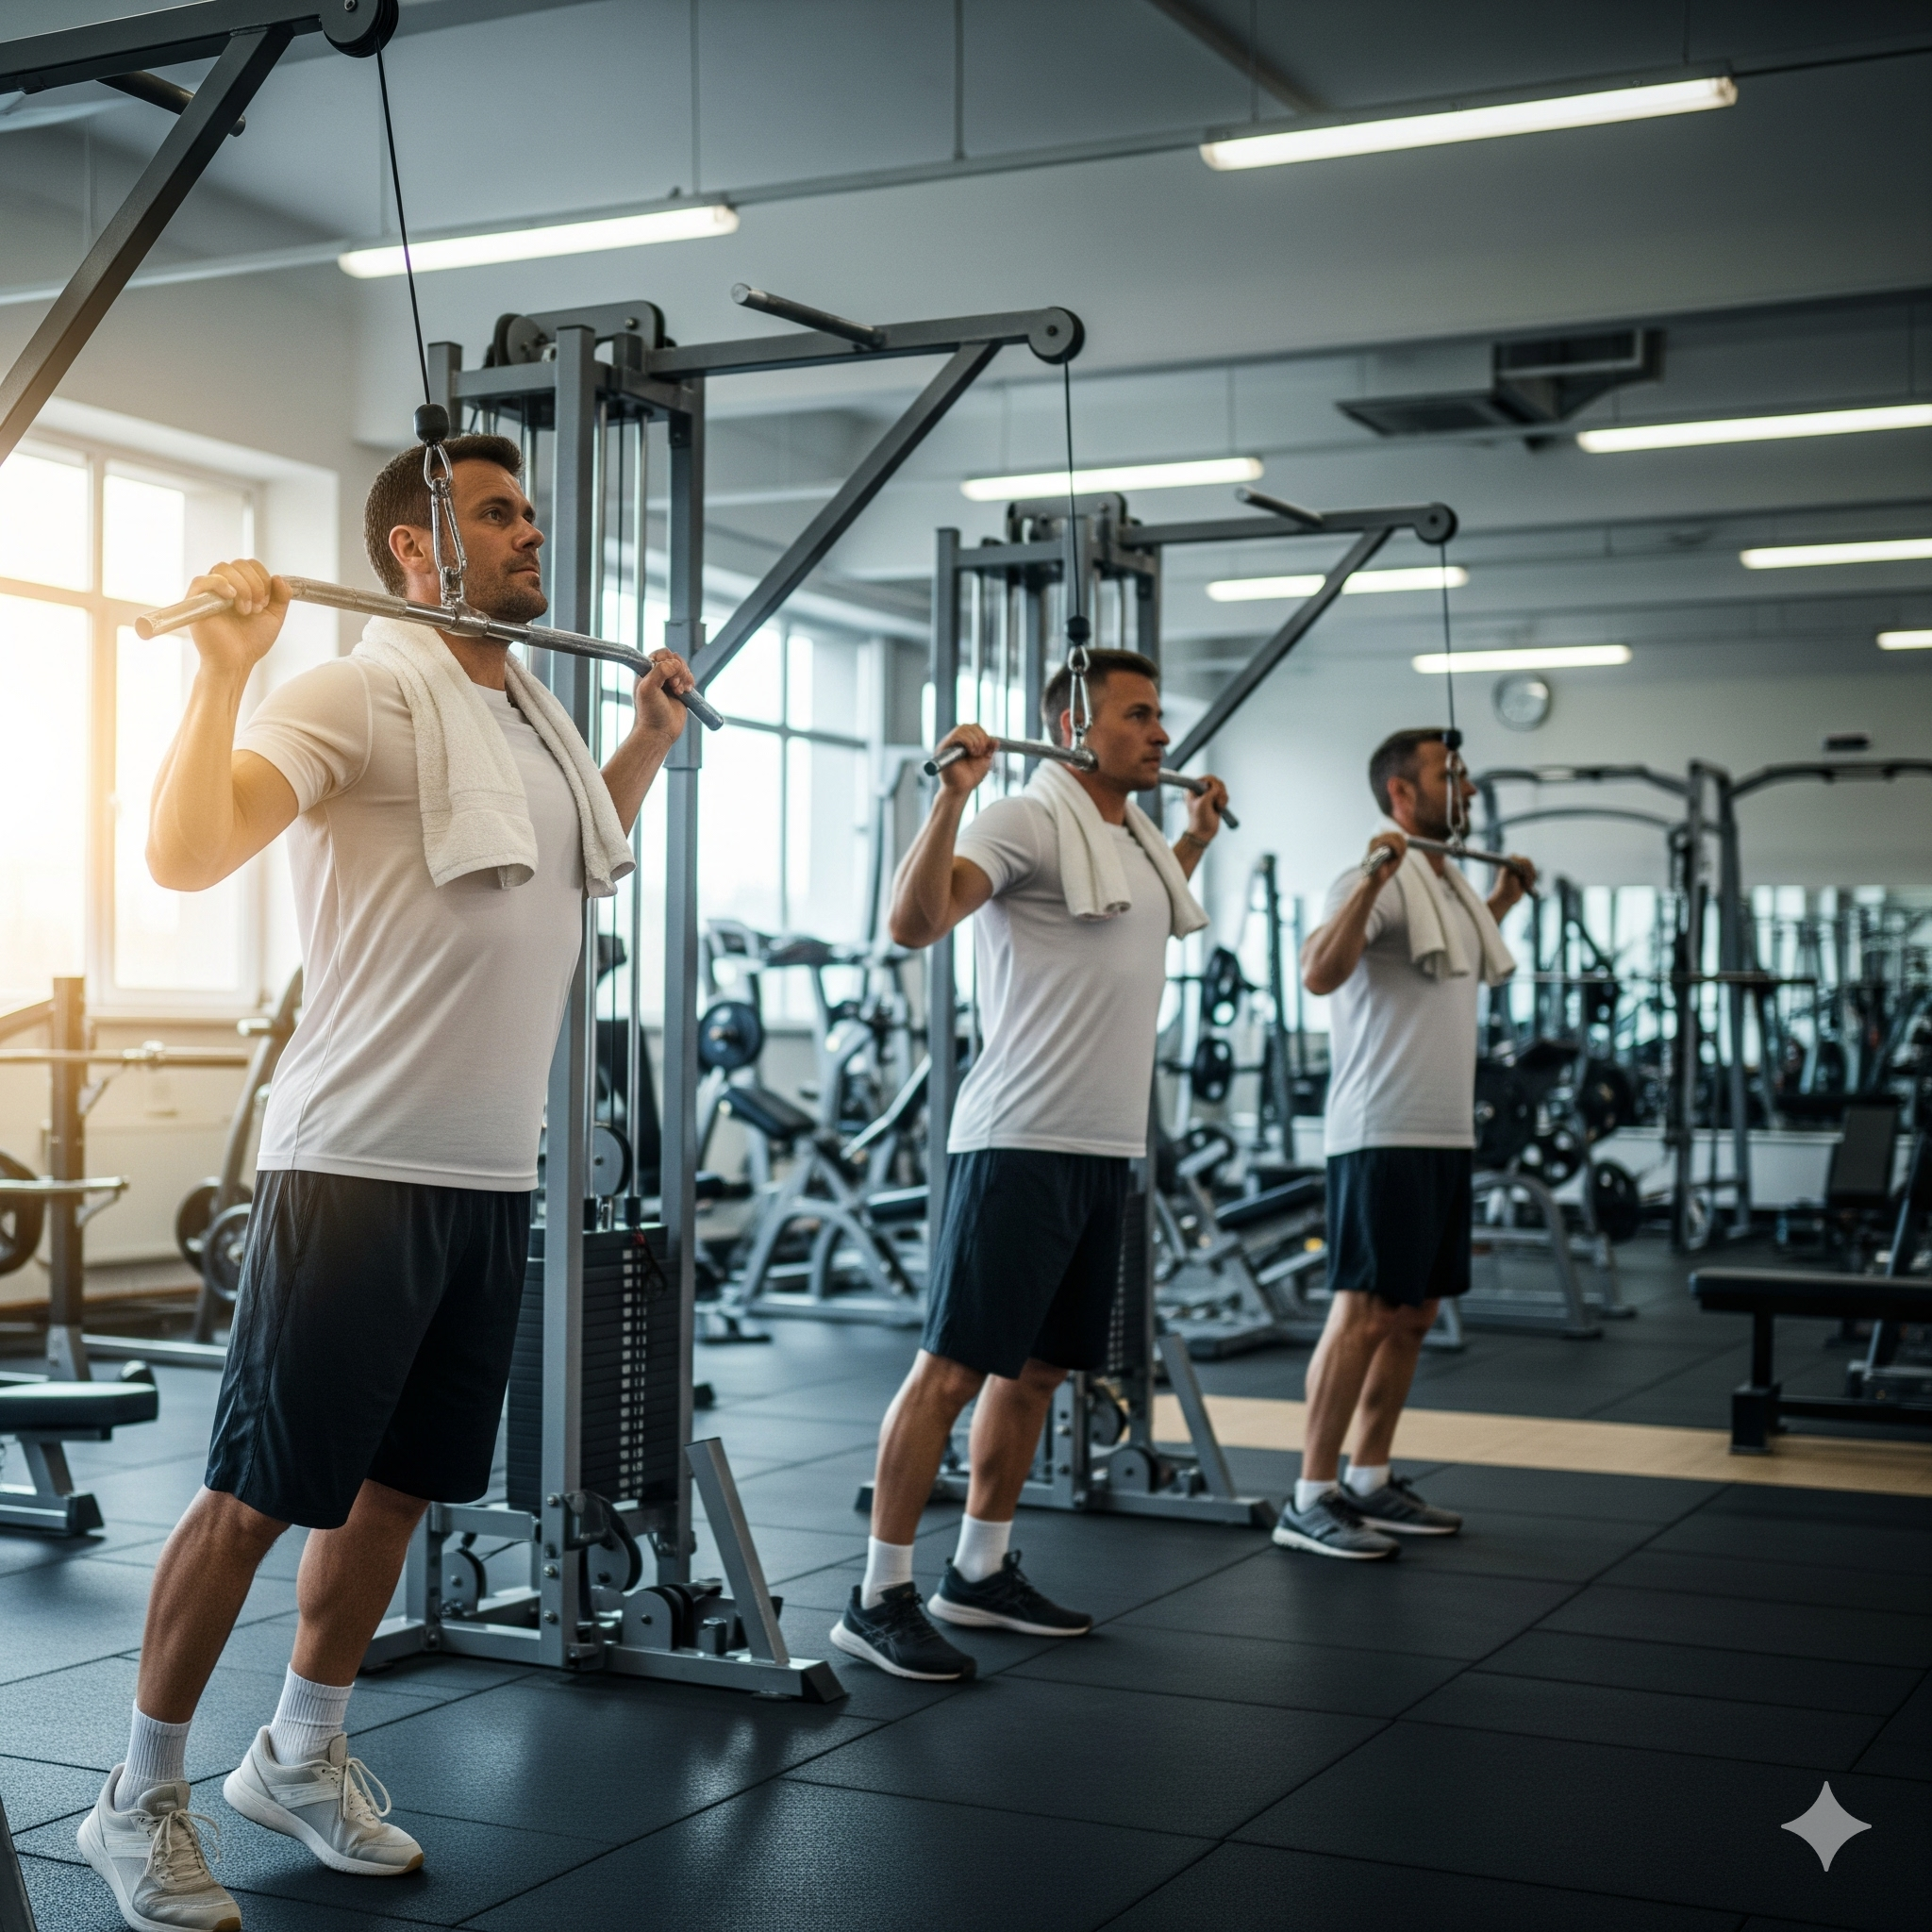
The pull-down, commonly known as the lat pulldown, is a staple strength-training exercise designed to strengthen the latissimus dorsi (lats)—the large, wing-shaped muscles that give your back its width. This exercise mimics the pulling motion of a pull-up but uses a cable machine or resistance bands for controlled resistance.
Unlike bodyweight pull-ups, pull-downs allow you to adjust the load, making them beginner-friendly while still challenging for advanced lifters. With proper form and variations, pull-downs not only develop a wide, strong back but also improve posture, stability, and pulling strength.
Benefits of Doing Pull-Downs
The pull-down is a highly effective exercise that strengthens the back, improves posture, and enhances grip strength, while also serving as a progression tool toward unassisted pull-ups. Because the exercise can be performed with different grips and attachments, it offers great versatility for targeting various parts of the back.
Key Benefits:
-
Builds a stronger, wider back: The primary muscle worked is the latissimus dorsi, which contributes to back width and the classic V-taper look.
-
Engages multiple muscle groups: In addition to the lats, pull-downs activate the biceps, rhomboids, trapezius, and rear deltoids, making it an efficient compound movement.
-
Supports better posture: Strengthening the upper and mid-back helps correct rounded shoulders and maintain spinal alignment.
-
Improves grip endurance: Holding the bar under resistance develops the forearms and hands, translating to stronger performance in other pulling exercises.
-
Helps beginners progress to pull-ups: Since the motion mimics a pull-up but with adjustable resistance, it’s an ideal way to build the strength required to lift your bodyweight.
-
Adds training variety: Different grips—wide, close, reverse, or straight-arm—allow you to emphasize different areas of the back and arms.
-
Promotes core stability: Keeping the torso steady throughout the movement engages the core and protects the spine.
-
Safe for all levels: Performed on a machine in a controlled position, pull-downs are beginner-friendly and reduce injury risk compared to more complex free-weight movements.
Muscles Targeted by Pull-Downs
While pull-downs primarily focus on the latissimus dorsi, multiple muscle groups assist in the movement:
-
Primary Muscle:
-
Latissimus Dorsi (lats) – responsible for shoulder adduction and back width.
-
-
Secondary Muscles:
-
Biceps – assist in pulling the weight.
-
Teres Major – works with lats for arm movement.
-
Rhomboids & Trapezius – retract and stabilize the shoulder blades.
-
Rear Deltoids – add shoulder stability.
-
Core & Forearms – provide balance and grip strength.
-
Depending on grip (wide, close, neutral, or reverse), the emphasis shifts among these muscles, giving pull-downs impressive versatility.
Different Types of Pull-Down Variations
1. Wide-Grip Pull-Down
-
Focuses on the upper lats for width.
-
Overhand grip wider than shoulders.
2. Close-Grip Pull-Down
-
Emphasizes lower lats and biceps.
-
Uses a V-bar or underhand grip.
3. Reverse-Grip Pull-Down
-
Engages biceps and lower lats more strongly.
-
Shoulder-width, underhand grip.
4. Neutral-Grip Pull-Down
-
Palms face each other, reducing shoulder strain.
-
Great for those with shoulder discomfort.
5. Single-Arm Pull-Down
-
Isolates each side to correct muscle imbalances.
6. Kneeling Pull-Down
-
Adds core activation, since your body stabilizes more actively.
7. Straight-Arm Pull-Down
-
Keeps elbows extended to isolate the lats.
8. Behind-the-Neck Pull-Down
-
Targets upper lats and traps but carries a higher injury risk, not recommended for beginners.
How to Perform a Proper Pull-Down Step by Step
1 Step : Setup
-
Adjust the seat and secure thighs under the pads.
-
Grip the bar slightly wider than shoulder-width with palms facing forward.
2 Step : Starting Position
-
Sit tall with chest up, core engaged, and arms fully extended.
-
Retract your shoulder blades to activate the lats.
3 Step : The Pull
-
Drive elbows down toward your ribs.
-
Pull bar to upper chest, not behind the neck.
-
Pause and squeeze lats at the bottom.
4 Step : Controlled Release
-
Slowly return bar to starting position.
-
Keep tension on your lats throughout.
Common Mistakes to Avoid in Pull-Downs
Pull-downs are effective for building back strength, but only when performed with correct form. Many people make errors such as relying on momentum, using excessive weight, or neglecting proper posture. Paying attention to controlled movement and engaging the right muscles ensures better results and reduces injury risk.
Frequent Errors and How to Correct Them
-
Using momentum instead of strength
Swinging the torso to bring the bar down shifts the effort away from the back muscles.
Fix: Reduce the load, brace your core, and keep your body stable while pulling strictly with muscle control. -
Leaning too far back
Overarching or leaning excessively turns the move into a row and strains the lower back.
Fix: Maintain an upright position with only a slight tilt (10–15 degrees) and pull your elbows straight down. -
Relying on arms instead of back
If most of the tension is in your biceps and forearms, the lats are not being fully activated.
Fix: Begin by squeezing your shoulder blades, then drive the elbows downward. A relaxed or thumbless grip can help reduce arm dominance. -
Skipping the negative phase
Letting the bar fly up quickly wastes the eccentric portion of the rep.
Fix: Guide the bar upward slowly, stretching the lats fully before starting the next pull. -
Shortening the range of motion
Not extending completely at the top or failing to bring the bar low enough limits growth.
Fix: Fully extend your arms overhead, then pull the bar to your upper chest or chin with elbows close to the torso. -
Gripping too wide
An overly wide grip restricts motion and can strain the shoulders.
Fix: Use a grip just beyond shoulder-width for maximum lat engagement. -
Behind-the-neck pull-downs
Pulling the bar behind the head increases the risk of neck and shoulder injury.
Fix: Always bring the bar down in front, toward the chest.
Best Practices for Effective Pull-Downs
-
Adjust the machine properly so the thigh pads hold you firmly in place.
-
Keep your core engaged to protect your lower back from arching.
-
Focus on the mind-muscle connection by visualizing your lats working through each rep.
-
If grip fatigue limits your sets, consider using lifting straps so your back—not your hands—remains the primary driver.
Pull-Down vs. Pull-Ups: Key Differences
| Feature | Pull-Down (Machine) | Pull-Up (Bodyweight) |
|---|---|---|
| Resistance | Adjustable weights | Bodyweight only |
| Accessibility | Suitable for beginners | Challenging for beginners |
| Muscle Isolation | Better for lats | Engages more stabilizers |
| Hypertrophy | Easier progression | Harder volume control |
| Equipment Needed | Machine or bands | Pull-up bar |
Verdict:
-
Pull-downs = best for controlled hypertrophy and beginners.
-
Pull-ups = superior for functional strength and body control.
-
Best approach? Use both in your training routine.
Equipment Needed for Pull-Downs
At the Gym:
-
Lat pulldown machine (with adjustable seat & thigh pads).
-
Bar attachments (straight bar, V-grip, rope).
At Home:
-
Resistance bands with a secure high anchor.
-
Bench or sturdy chair.
-
Optional: Lat bar attachment for bands.
Beginner Tips for Effective Pull-Down Training
If you’re new to pull-downs, the most important things to remember are form, control, and consistency. Avoid swinging or relying on momentum—your focus should be on controlled movements that activate your back muscles. The pull-down machine is a great beginner-friendly tool to build strength and prepare for advanced exercises like pull-ups.
Step 1: Setting Up the Machine
-
Adjust the thigh pads so they fit snugly over your legs to keep your lower body secure.
-
Keep your feet flat on the ground for stability.
-
Grip the bar with an overhand hold, slightly wider than shoulder-width.
-
Sit upright, engage your core, and keep your chest lifted.
Step 2: Performing the Exercise
-
Initiate with the back: Start by pulling your shoulder blades down and back—this ensures your lats are doing the work, not just your arms.
-
Pull down correctly: Drive your elbows toward your sides as you bring the bar down to your upper chest or chin level.
-
Squeeze at the bottom: Hold the contraction for a second and focus on tightening your lats.
-
Control the release: Slowly extend your arms upward, keeping the movement smooth. Avoid letting the weight stack slam.
Mistakes Beginners Should Avoid
-
Swinging the torso: Momentum takes the load off your lats—keep your core tight and body stable.
-
Going too heavy: Using more weight than you can control often leads to poor form. Start lighter and master technique first.
-
Rounding the back: Maintain an upright chest and neutral spine to avoid shoulder and spine strain.
-
Cutting the range short: Fully extend your arms at the top and lower the bar to at least chin height.
-
Leaning back too much: A slight tilt is okay, but excessive leaning turns it into more of a row.
Beginner-Friendly Variations
-
Reverse-Grip Pull-Down (Underhand): Palms face you, shoulder-width apart. This version emphasizes the biceps while targeting the lower lats.
-
Neutral-Grip Pull-Down (V-Bar): Palms face each other using a V-bar handle. A shoulder-friendly option that still works the lats effectively.
-
Single-Arm Pull-Down: Use a D-handle and train one side at a time to correct imbalances and increase core activation.
How to Progress
-
Choose the right reps: Start with 10–15 repetitions per set to build muscle endurance and practice form.
-
Gradually increase challenge: Once you can complete your reps comfortably, add weight or slightly raise the number of repetitions.
-
Slow the eccentric phase: Control the upward movement for added strength and muscle growth.
-
Work toward pull-ups: As your strength improves, transition into assisted pull-ups or negatives to bridge the gap toward unassisted bodyweight pull-ups.
Advanced Pull-Down Techniques for Strength and Size
For experienced lifters, the lat pulldown can be taken beyond the basics by using advanced training strategies. Adjusting tempo, incorporating drop sets, and adding isometric holds can dramatically increase intensity and stimulate new muscle growth. Pairing these methods with grip variations ensures balanced development across the back.
Advanced Training Methods
Tempo Training
Changing the speed of your reps forces muscles to stay under tension longer, which is a powerful driver of growth.
-
How to do it: Try a 3-1-3-0 rhythm—take 3 seconds on the way up (eccentric), pause for 1 second at the top for a deep stretch, lower the bar in 3 controlled seconds, then immediately begin the next rep without pausing at the bottom.
Drop Sets
This method pushes the muscles past failure by reducing weight mid-set and continuing without rest.
-
How to do it: Perform pulldowns until you can’t complete another rep (6–10 range works well). Lower the weight by 10–20% and keep going. For a triple drop set, reduce the load two more times, each time repping until failure.
Isometric Holds (Iso-Holds)
Pausing at peak contraction increases muscle activation and strengthens the mind-muscle connection.
-
How to do it: At the bottom of each pulldown, squeeze your lats tightly and hold for 2–5 seconds before slowly returning to the start.
Advanced Pull-Down Variations
Mechanical Drop Sets
By switching grips mid-set, you can keep training even after reaching initial fatigue.
-
Example: Start with a wide grip until failure, then immediately switch to a closer underhand grip to continue. This shifts the load from the upper lats to the lower lats and biceps.
Single-Arm Kneeling Pull-Down
This version prevents one side from dominating and also challenges core stability.
-
How to do it: Kneel facing a high pulley with a D-handle, brace your core, and pull the handle down to your side with a full stretch and contraction.
Alternating Iso-Hold Pull-Down
Keeps constant tension on the lats by combining unilateral reps with static holds.
-
How to do it: With two handles, hold one side in the contracted position while performing regular reps with the other. Switch sides after completing the reps.
Programming for Goals
For Strength
-
Emphasize heavy loads, fewer reps, and longer rests.
-
Sample Routine:
-
Weighted Pull-Ups: 4 sets of 6–10 reps
-
Heavy Lat Pull-Downs with 4-sec eccentric: 4 sets of 5 reps
-
Single-Arm Kneeling Pull-Down: 3 sets of 8 reps per side
-
For Size (Hypertrophy)
-
Use moderate weights, higher reps, and shorter rest.
-
Sample Routine:
-
Tempo Pull-Downs (3-1-3-0): 3 sets of 8–12 reps
-
Mechanical Drop Sets (wide-to-close grip): 3 sets to failure
-
Alternating Iso-Hold Pull-Downs: 2 sets of 10–15 reps per arm
-
Incorporating Pull-Downs into Your Workout Routine
-
Beginner Routine: 3 sets of 12–15 reps with light weight.
-
Intermediate Routine: 4 sets of 8–12 reps with progressive overload.
-
Advanced Routine: Combine wide-grip pulldowns with rows and pull-ups for a complete back session.
Example weekly split:
-
Day 1: Pull-downs + Rows + Biceps
-
Day 3: Push exercises (chest/shoulders/triceps)
-
Day 5: Pull-down variations + Deadlifts
How to Perform Pull-Downs Safely
To get the most out of pulldowns while avoiding injury, you need to focus on posture, control, and proper machine setup. Sit upright with your core engaged, secure your thighs under the pads, and keep your shoulders drawn down and back. Choose a weight you can manage with good form, move through the full range slowly, and breathe steadily. Never jerk the bar, swing your torso, or pull it behind your neck—these mistakes place unnecessary stress on your shoulders.
Before You Begin
-
Check with a professional: If you have shoulder, back, or other health issues, consult a doctor or trainer before adding pulldowns to your routine.
-
Pick the right load: Start with a lighter weight that allows you to complete each rep with strict form.
-
Adjust the equipment: Lock your legs under the pads and place your feet flat on the floor to create a stable base.
During the Exercise
-
Posture first: Keep your chest lifted, spine neutral, and a slight natural arch in your lower back.
-
Grip properly: A grip slightly wider than shoulder-width works well; an open or thumbless grip can help shift more tension to the lats.
-
Pull with control: Bring the bar down smoothly to your upper chest by driving your elbows downward, not just pulling with your arms.
-
Resist on the way up: Slowly return the bar to the starting position, controlling the movement to fully stretch the lats.
-
Protect your shoulders: Keep them set down and back the entire time to prevent unnecessary strain.
-
Avoid momentum: Stay stable—don’t lean excessively or use body swing to move the weight.
Final Thoughts
This is one of the most effective moves for building back strength, improving posture, and developing a wide, aesthetic upper body. With multiple grip variations and adjustable resistance, it caters to both beginners and advanced lifters.
When done correctly, pulldowns not only grow your lats but also enhance functional strength, protect your spine, and improve athletic performance. Whether you’re chasing your first pull-ups or working toward a powerful V-taper, pulldowns should be a cornerstone of your training program.